Showing posts with label Home Etc.. Show all posts

Sunday, January 03, 2016

Basement Update

Hi Everyone! I hope you all had a wonderful, restful Holiday season! I feel like we haven't stopped since Thanksgiving so I'm looking forward to slowing down a bit!

We used our Christmas break to make some headway in the basement. Justin was able to spray paint the back two rooms and it looks so great! The walls have solid coverage while the ceiling has a more rustic look. I L O V E it! 


We're hoping the carpet goes in this week sometime then we can move things into place and paint the front two rooms. 

The picture above will be the living space. Couch, T.V. and lots of fun pops of color!
This picture below will be the kids play area. I can't wait to get all the toys organized and into one place! 


I will be purchasing new light fixtures and window coverings which will make the space look even better! Other than that, I'd like to try and use pieces from around the house to furnish with. 

In the process I've been purging, organizing and donating. There is no better way to start a new year! 


Tuesday, October 13, 2015

Fall Decor

I'm really trying to simplify my holiday décor.  I usually do garlands and all that jazz but this year I just wanted to do some pumpkins, poms and a couple homemade things and call it a day.  With a toddler and two month old, I just don't have the time and energy to put into a ton of décor so simplifying will make it less overwhelming for me while still adding a fun holiday atmosphere to our home.  

One thing I'm loving lately are all the pom garlands I'm seeing on Pinterest so I took to my yarn stash to make some of my own.  


To make the 'Happy Fall' sign I used newspaper and stencils I had on hand... $free.99!

We have had such an amazing summer but I am ready to transition into the fall season.  I'm loving seeing the foggy, crisp mornings out my window as I pour a hot cup of coffee!  Happy Fall!

Wednesday, August 20, 2014

White Paint and Some Art

You may remember a while back when I shared my bathroom painting surprise.  Well, I remedied that problem real quick!  I repainted the space in a semi-gloss white and added some wall art!
 
Y'all know that the eclectic, mixy piece look is my jam. So I went with that look in this room too! I really like how it turned out.  I need a few more things on the wall but for now this is good! I hope you enjoy!


Sunday, July 13, 2014

New Addition

A while back we inherited Justin's Great Grandpas Juke Box!  It's been in the garage for about a year but we finally got it into the house!  Right now it resides in our living room.


Here it is in the space.  It makes the room a little crowded but will work for now.  Once we get a new couch it will be better.  There is a lot of big furniture going on and I'm sure I'll make changes but for now, this is where we're at.


How do you incorporate family heirlooms into your décor?
 

Wednesday, July 09, 2014

Painting Problems...

 Well... it's looking lavender.  NOT what I was expecting.  This was some left over paint we had and lavender is definitely not the color.  It was supposed to read as mostly white a super subtle gray... 
 
So we'll try again... this time with white paint.  It's amazing how paint reads differently in different spaces.  I have noticed in our old house, specifically the main floor, that the paint is coming out so different than how it looks in the can.  A little frustrating but a good learning experience! =]


I'll will have after a to show you soon! 
 

Friday, May 23, 2014

Clap Along...Because I'm Happppppyyyyyyyyy!

YOU GUYS! We have a new roof.  A beautiful, wonderful, roof.  AND gutters that are wonderful and beautiful too!  

 
Here is the before. You can see how the roof was fading in color and how the gutters were ugly and bad it looked.
 
 
We received a bid and decided to go with WestCoast Vinyl.  Their roofing and gutter contractors were awesome but I was NOT impressed with the customer service of WestCoast Vinyl.  People would just show up at my house with me knowing they were coming and I had to call to find out when they scheduled me for the job! That was frustrating but we are happy with with end result.
 
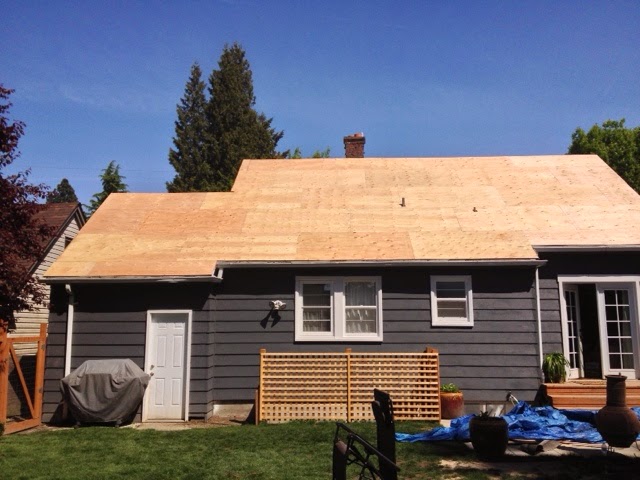
The roofing only took two days.  The first day, the contractors tore off the existing roof to the bare studs and put on new plywood and the protective paper. 


Day two they put on all the shingles and attached and caulked the flashing.  It went so quickly!  This is what we were left with after the roof was done and before the gutters were put on.  Looking Good!
 
 
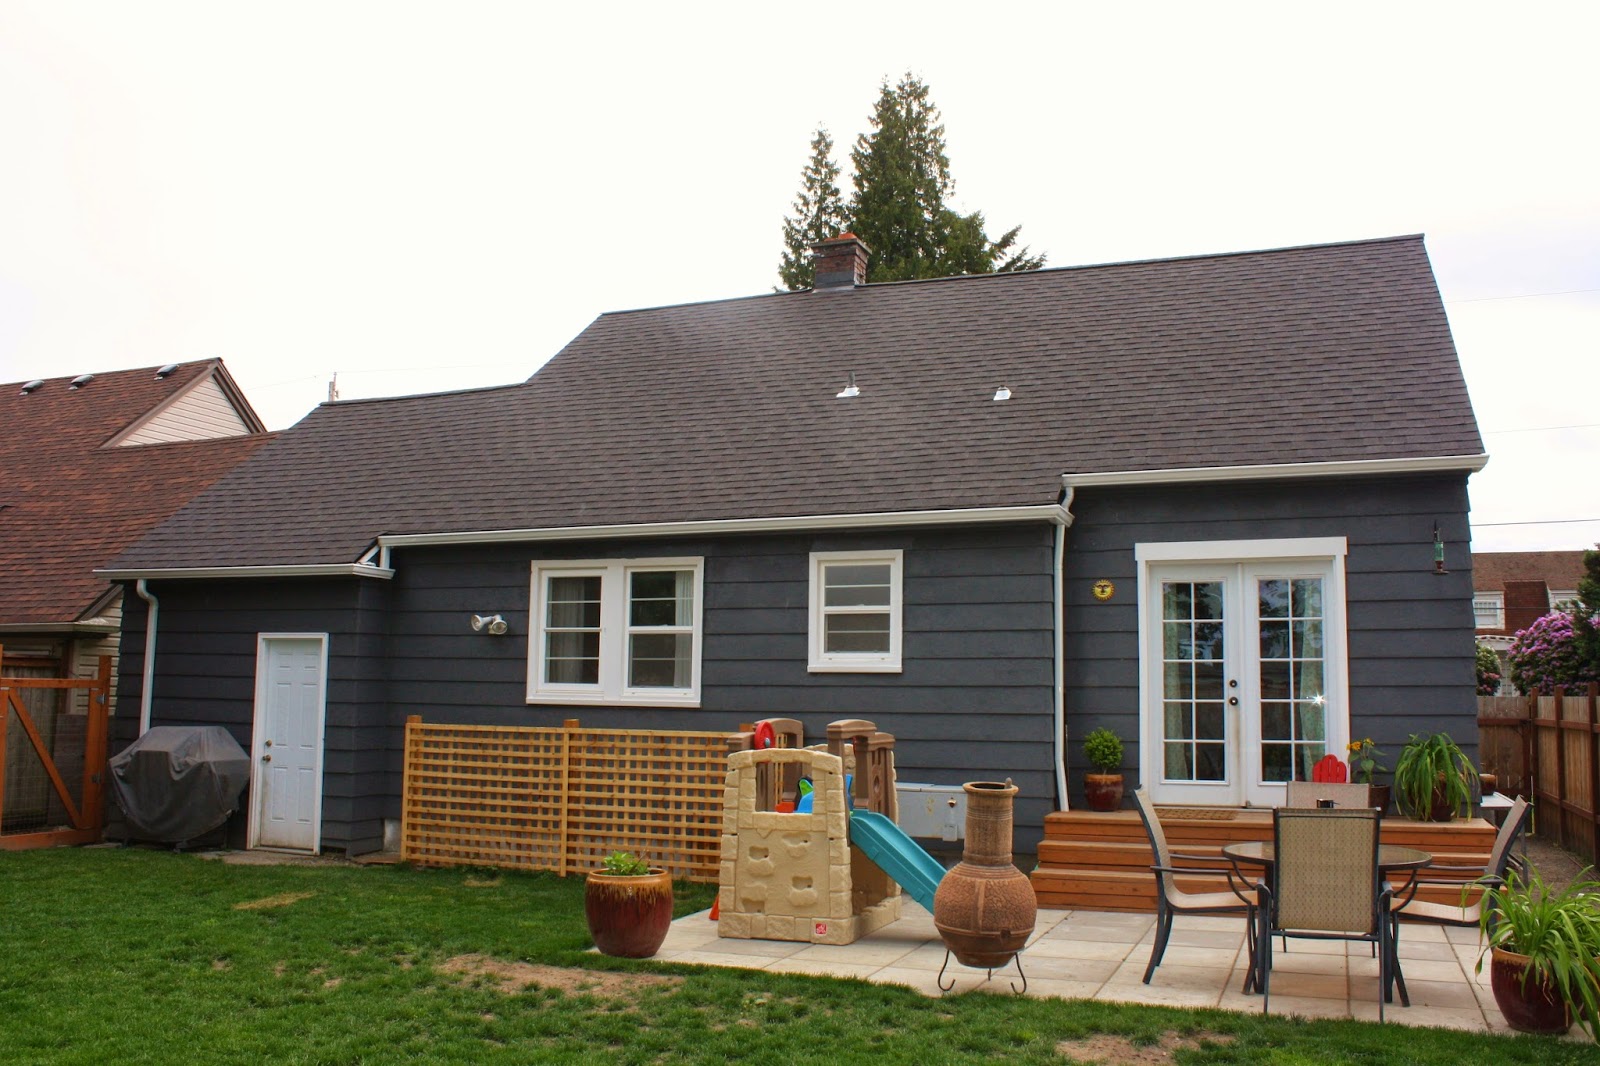
Here is the back yard view.  Also pre gutter install.
 
Before 
 
After - Pre gutters.
 
The gutter install went great too! They guys were so nice and they got the job done quickly!
 
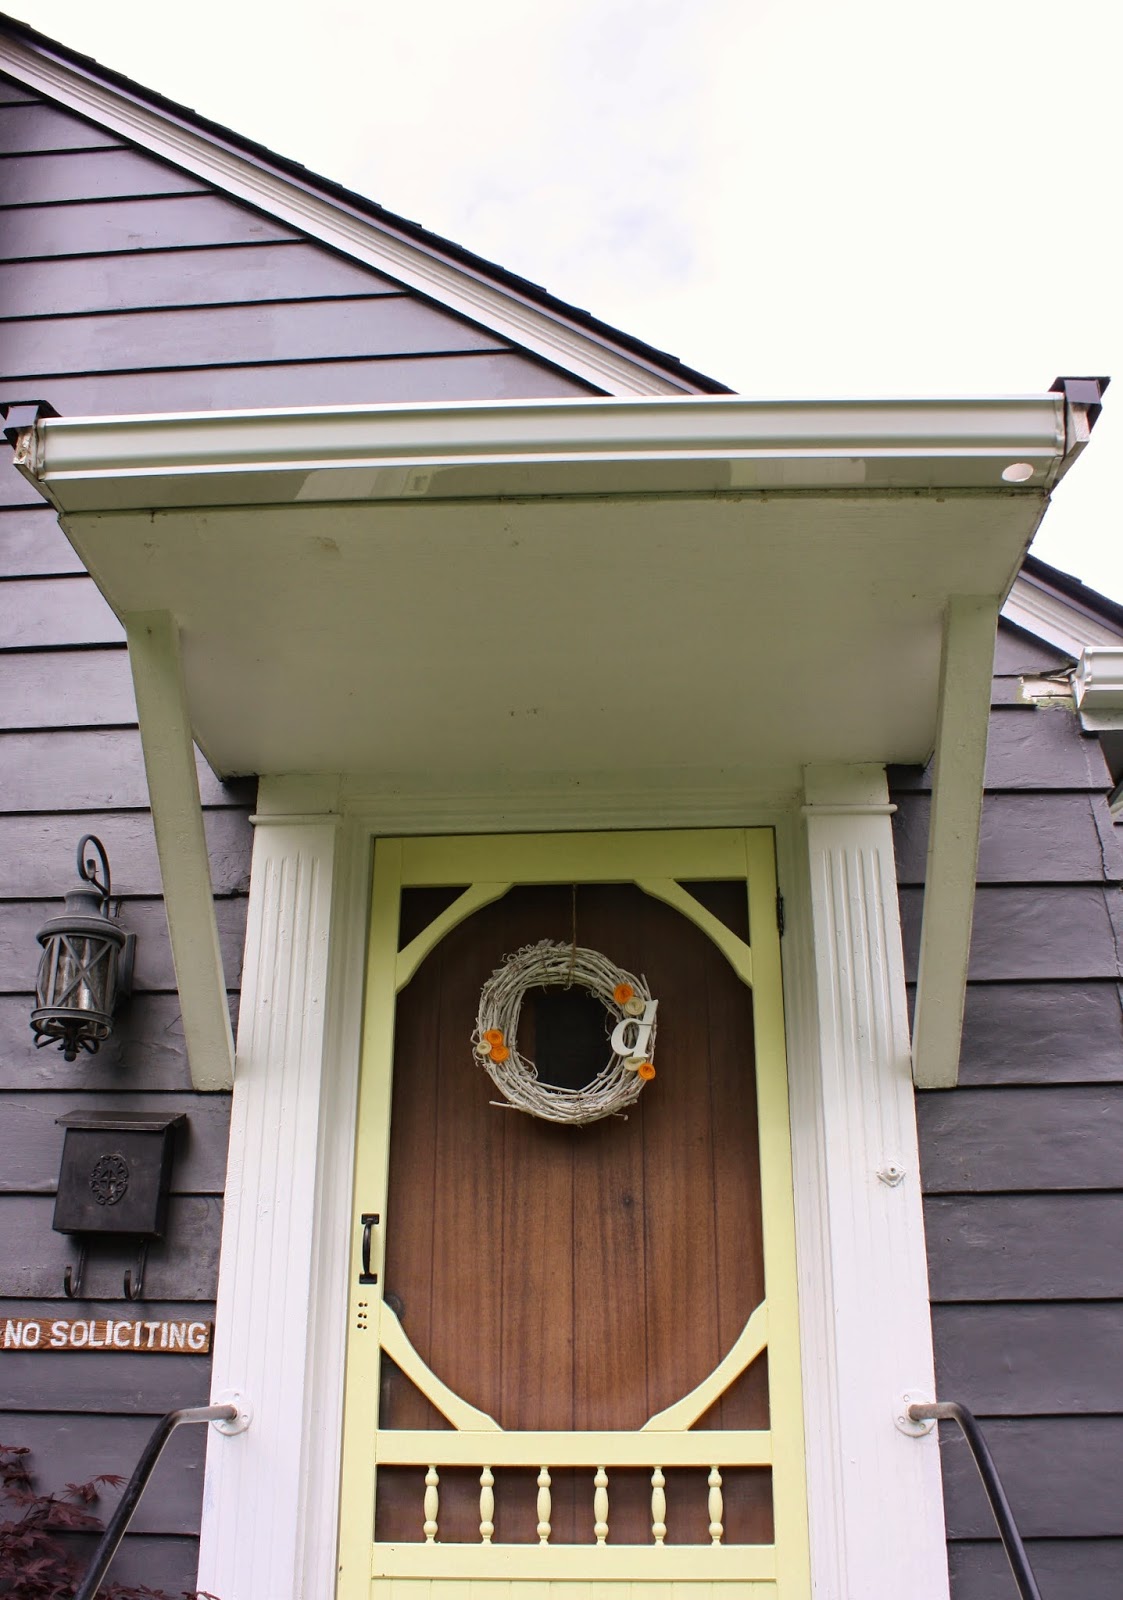
We opted out of a downspout by the front door.  We are in the process of picking out a copper rain chain that will replace it and in my opinion, look much better!
 
 
We also have to patch and paint some areas where the previous gutters ran too long.  This will add another tedious task to our list but will look great once its complete.
 
 
We are so happy with the end result and can now rest assured that we have a quality roof to keep up warm and dry!


Saturday, May 17, 2014

Babyproofing.

Since we've had Cru, we have had to do a lot of baby proofing.  We've had to buy outlet covers, cabinet thing a ma bobbers and stairway gates. With the inside taken care of, we needed to assess our outdoor situation to make sure little boo boo wouldn't get any major boo boos whilst playing outside.
 
Justin is demonstrating our main problem.  You spy? 
 
We have a set of outdoor stairs that lead down to our basement.  They are concrete and a little person would fall quite a long ways down. 
 
 
We needed to build a fence. I didn't want a normal fence.  I wanted a cool fence. A fence with visual appeal.  A lattice fence. 
 
Not the X shaped lattice, I really don't like that kind but the + lattice kind.  Our friend Lowe's hooked it up with these babies.
 
 
Justin dug and sunk 4 4x4's around the stairway opening.  We added concrete to the posts and made sure they were level and let them set over night. 
 
 
The next day, we attached the lattice pieces to the 4x4's.
 
 
I'm totally diggin it.  I love it but we're not quite finished.  We need to finish adding the trim pieces on the front and we need to stain it.   We also need to make and attach a gate to the open end of the stairway.  We have a long weekend next weekend and I'm hoping the weather will permit and we can finish tackling the last few of our outdoor projects this year.
 
 
 My goal is to get all my to do lists complete soon so that we can just enjoy the rest of the summer.
 
What outdoor improvements are you making?

Monday, May 05, 2014

Ottoman Makeover


A couple years ago, I picked up two of the most basic of ottomans from IKEA.  With hopes and dreams of making amazing covers for them, I did manage to make a somewhat decent cover for one, while the other was left to rest naked in the basement.
 
 
In February, Cru spent a night very sick with temperatures of over 100 degrees.  That was the night the second ottoman got a second chance.  I ended up sleeping in that chair that night so I asked my husband to bring it up from the basement for me.   I loved it so much, it stayed.  However, it needed some love.

I spent a while mulling over what color/pattern I wanted to cover it in.  Crus room is already so bright with lots of different patterns and textures, I wanted to be careful not to choose something that would compete.  On the easy side, his room also allows for the use of any color.  So that left my pallet with lots of options. I get overwhelmed in fabric stores so I was thrilled to find this fitted sheet in the kids section of IKEA.  The green color is a solid so I knew it wouldn't compete with all the patterns in the space and the green color would pull out the green in some of the art in the room and pull your eye off of the blue and red which has a heavy presence in his room!  For $6 I had my ottoman cover!
 
 
If I wanted to spend the time (which I didn't) I could have cut and sewn it to the perfect size and create an attachment system so I can remove and wash as needed.  Instead I pulled out my staple gun, flipped the thing over, pulled it tight and stapled away!  I was prepared to cut away the extra fabric underneath but was able to just staple it out of sight.  Kind of a ghetto method, but it worked for me and what the eye can see looks great!
 
Here she is!
 
 
I really love the way it looks in Cru's room.  It pulls from the greens in the Vintage Disney attraction posters behind the chair and on his desk.  Easy peasy! 


Monday, November 11, 2013

Easy DIY Fall Yard Art

I was browsing some local shops as I often do to get ideas for fun DIY projects and I came across some outdoor yard signs that said "Happy Halloween".  They were super cute but at the price tag of $30, I knew I had all the resources at home to make this myself and couldn't justify spending the dough... 

So I went home and made my own!

Supplies needed:
Scrap wood
Wood stain
Exterior paint
ABC Stencils
Pencil
Small paint brush 
Saw (if board is bigger than needed)


First I took the stencils and traced out what I wanted on the sign. (Yes, I realize my ' is in the wrong spot. Don't worry I fixed it)


For this sign I wanted it to say "It's Fall Y'all" so I set up my stencils and went to work. I also used a smaller set of stencils I had to make a "No Soliciting" sign. I've been wanting one for a while so I just made one. 


After this step was completed I covered the board in one coat of some wood stain I had on hand. Any color will do. 

I was able to still see the outline of the stencils so I filled the lettering in using a small paintbrush and extra exterior white paint we had on hand. 


When I was done filling in the letters and everything was dry, I had Justin cut the signs to size.


I want sure how they would turn out but since I had all the materials on hand I figured it was worth a try!
Now they're proudly displayed out front! 


For a project that cost free.99 I think they turned out pretty great! Now I'm excited to make some for Christmas decor!